Configuring the Page Layout on a Chapter Basis
You can configure the page layout for specific chapters.
|
NOTE
|
|
If [Auto (Size)] is selected in the output paper size settings, the page layout is changed to [1 on 1].
For more information on how to configure the page layout settings for the entire document, see the following.
For more information on how to cancel the settings on a chapter basis, see the following.
|
1.
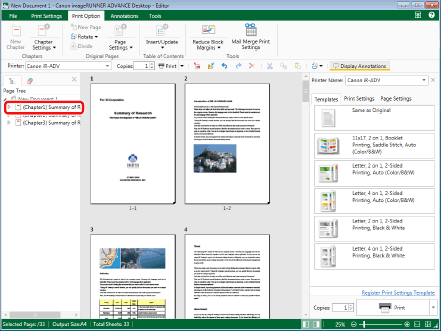
Select the chapter to specify the page layout settings for on the [Page Tree] tab on the Navigation Window.
|
NOTE
|
|
If the [Page Tree] tab on the Navigation Window is not displayed, see the following.
You can select multiple chapters by clicking them while holding down the [Ctrl] key on the keyboard.
|
2.
Click the icon for the ribbon command.
Or, follow one of the steps described below.
Select [Chapter Settings] on the ribbon > [Chapter Settings]
Click [Chapter Settings] on the ribbon
Right-click and select [Chapter Settings]
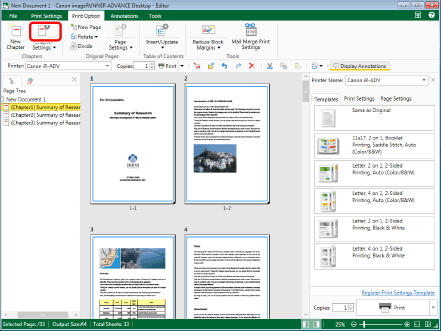
[Chapter Settings] is displayed.
|
NOTE
|
|
If commands are not displayed on the ribbon of Desktop Editor, see the following to display them.
This operation can also be performed with the tool buttons. If tool buttons are not displayed on the toolbar of Desktop Editor, see the following to display them.
|
3.
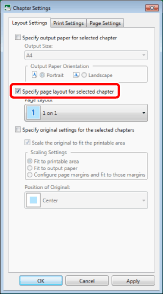
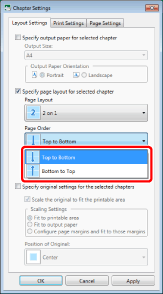
Select the [Specify page layout for selected chapter] check box on the [Layout Settings] tab.
4.
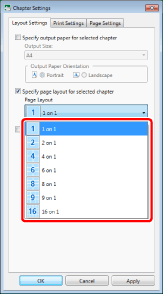
Select the page layout settings to configure from the [Page Layout] pull-down list.
[Page Order] and [Border] are displayed under [Page Layout] when something other than [1 on 1] is selected.
Proceed to step 5.
|
NOTE
|
|
The page layout is as follows:
[1 on 1]: one page per sheet of paper
[2 on 1]: two pages per sheet of paper
[4 on 1]: four pages per sheet of paper
[6 on 1]: six pages per sheet of paper
[8 on 1]: eight pages per sheet of paper
[9 on 1]: nine pages per sheet of paper
[16 on 1]: 16 pages per sheet of paper
|
5.
Select the page order from the [Page Order] pull-down list.
|
NOTE
|
|
If you selected [2 on 1] in [Page Layout], the orders you can select differ according to the output paper orientation.
For portrait orientation: [Top to Bottom] or [Bottom to Top]
For landscape orientation: [Left to Right] or [Right to Left]
When something other than [2 on 1] is selected in [Page Layout], the page order that can be selected is as follows.
[Across from Upper Left]
[Down from Upper Left]
[Across from Upper Right]
[Down from Upper Right]
[Across from Lower Left]
[Up from Lower Left]
[Across from Lower Right]
[Up from Lower Right]
|
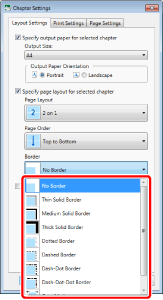
6.
Select the boundary of the page layout from the [Border] pull-down list, as necessary.
|
NOTE
|
|
If you selected something other than [1 on 1] for the page layout, you can select the boundary from the pull-down list.
[No Border]
[Thin Solid Border]
[Medium Solid Border]
[Thick Solid Border]
[Dotted Border]
[Dashed Border]
[Dash-Dot Border]
[Dash-Dot-Dot Border]
[Crop Marks]: Applies marks for trimming on the top/bottom/left/right centers and four corners so that the trimmed paper size becomes the specified size.
Click [Apply] to check the document preview in the Work Window without closing [Chapter Settings].
|
7.
Click [OK].
The chapter icon displayed on the [Page Tree] tab on the Navigation Window changes and the chapter name changes to blue.