| User's Guide (Product Manual) | |
|---|---|
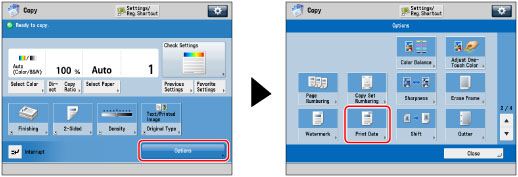
 (Main Menu) → [Copy].
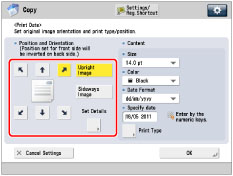
[Upright Image]: | Press this if you are placing originals upright. |
[Sideways Image]: | Press this if you are placing originals sideways. |
Upright Image | Sideways Image | |||
 |  |  |  |  |
Vertical Placement | Horizontal Placement | Vertical Placement | Horizontal Placement | |
NOTE |
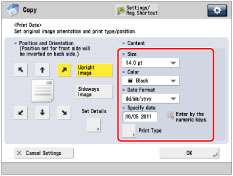
If you set any two of [Page Numbering], [Copy Set Numbering], or [Watermark] to print in the same position, a confirmation message appears when you press  (Start). (Start). |
 -
-  (numeric keys).
NOTE |
If no date is set, the date set in [Date/Time Settings] is printed. Confirm that the date and time settings are correct. (See "Current Date and Time.") |
IMPORTANT |
Printing performance may not be optimal, depending on the original content and combination of settings. If you use [Print Date] with [Add Cover] or [Insert Sheets], numbers will not be printed on the inserted pages. |
NOTE |
You can also adjust the position of the date. (See "Registering/Editing/Deleting User-Defined Text for Page Numbers and Watermarks.") |

| Copyright CANON INC. 2021 |
|---|